Adventures in Woodworking Part 11
May 4, 2017 | Samantha Dyck, Operations Manager, Hard Hat Hunter

Let’s start with a quick recap of what I needed to accomplish to finish my coffee table:
- Add piece to make bottom rails the same height
- Add in cross pieces
- Insert and attach bottom shelf
- Attach top shelf
This week’s class at Canadore began with taking a step back and looking at my creation in its current state.
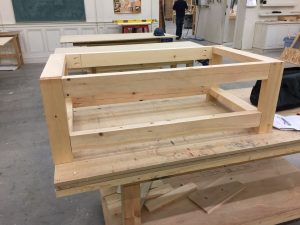
After discussing it with Adam, we decided that it would be less wasteful, and more logical if I flipped my horizontal side rails to make them sit up to the same height as their perpendicular equivalents. So, first thing I did was to use the step bit on the drill to remove the screws.
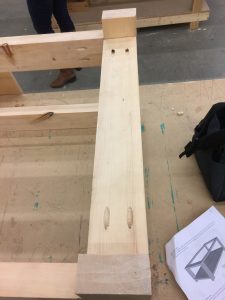
Once the two boards were loose, I flipped the coffee table to its side. Using a clamp to hold it in place, I reinserted the pieces on their sides.
Change of Plans
Since I altered my table, I needed to change the length of the bottom shelf. Since you can’t add length to the boards I have already cut (well, at least to my knowledge). Instead, I traded Adam my three cut pieces for raw lumber.
I cut the raw lumber into 3 boards at 50” each, using the chop saw, to make the super-long pieces a bit more manageable. Next, Adam helped me rip the pieces to 25” each on the table saw.
Next, we ran the three pieces through the thickness planer and the jointer planer. Now that the faces and edges of the pieces were smooth, I cut them down to the appropriate size- 48” using the chop saw again.
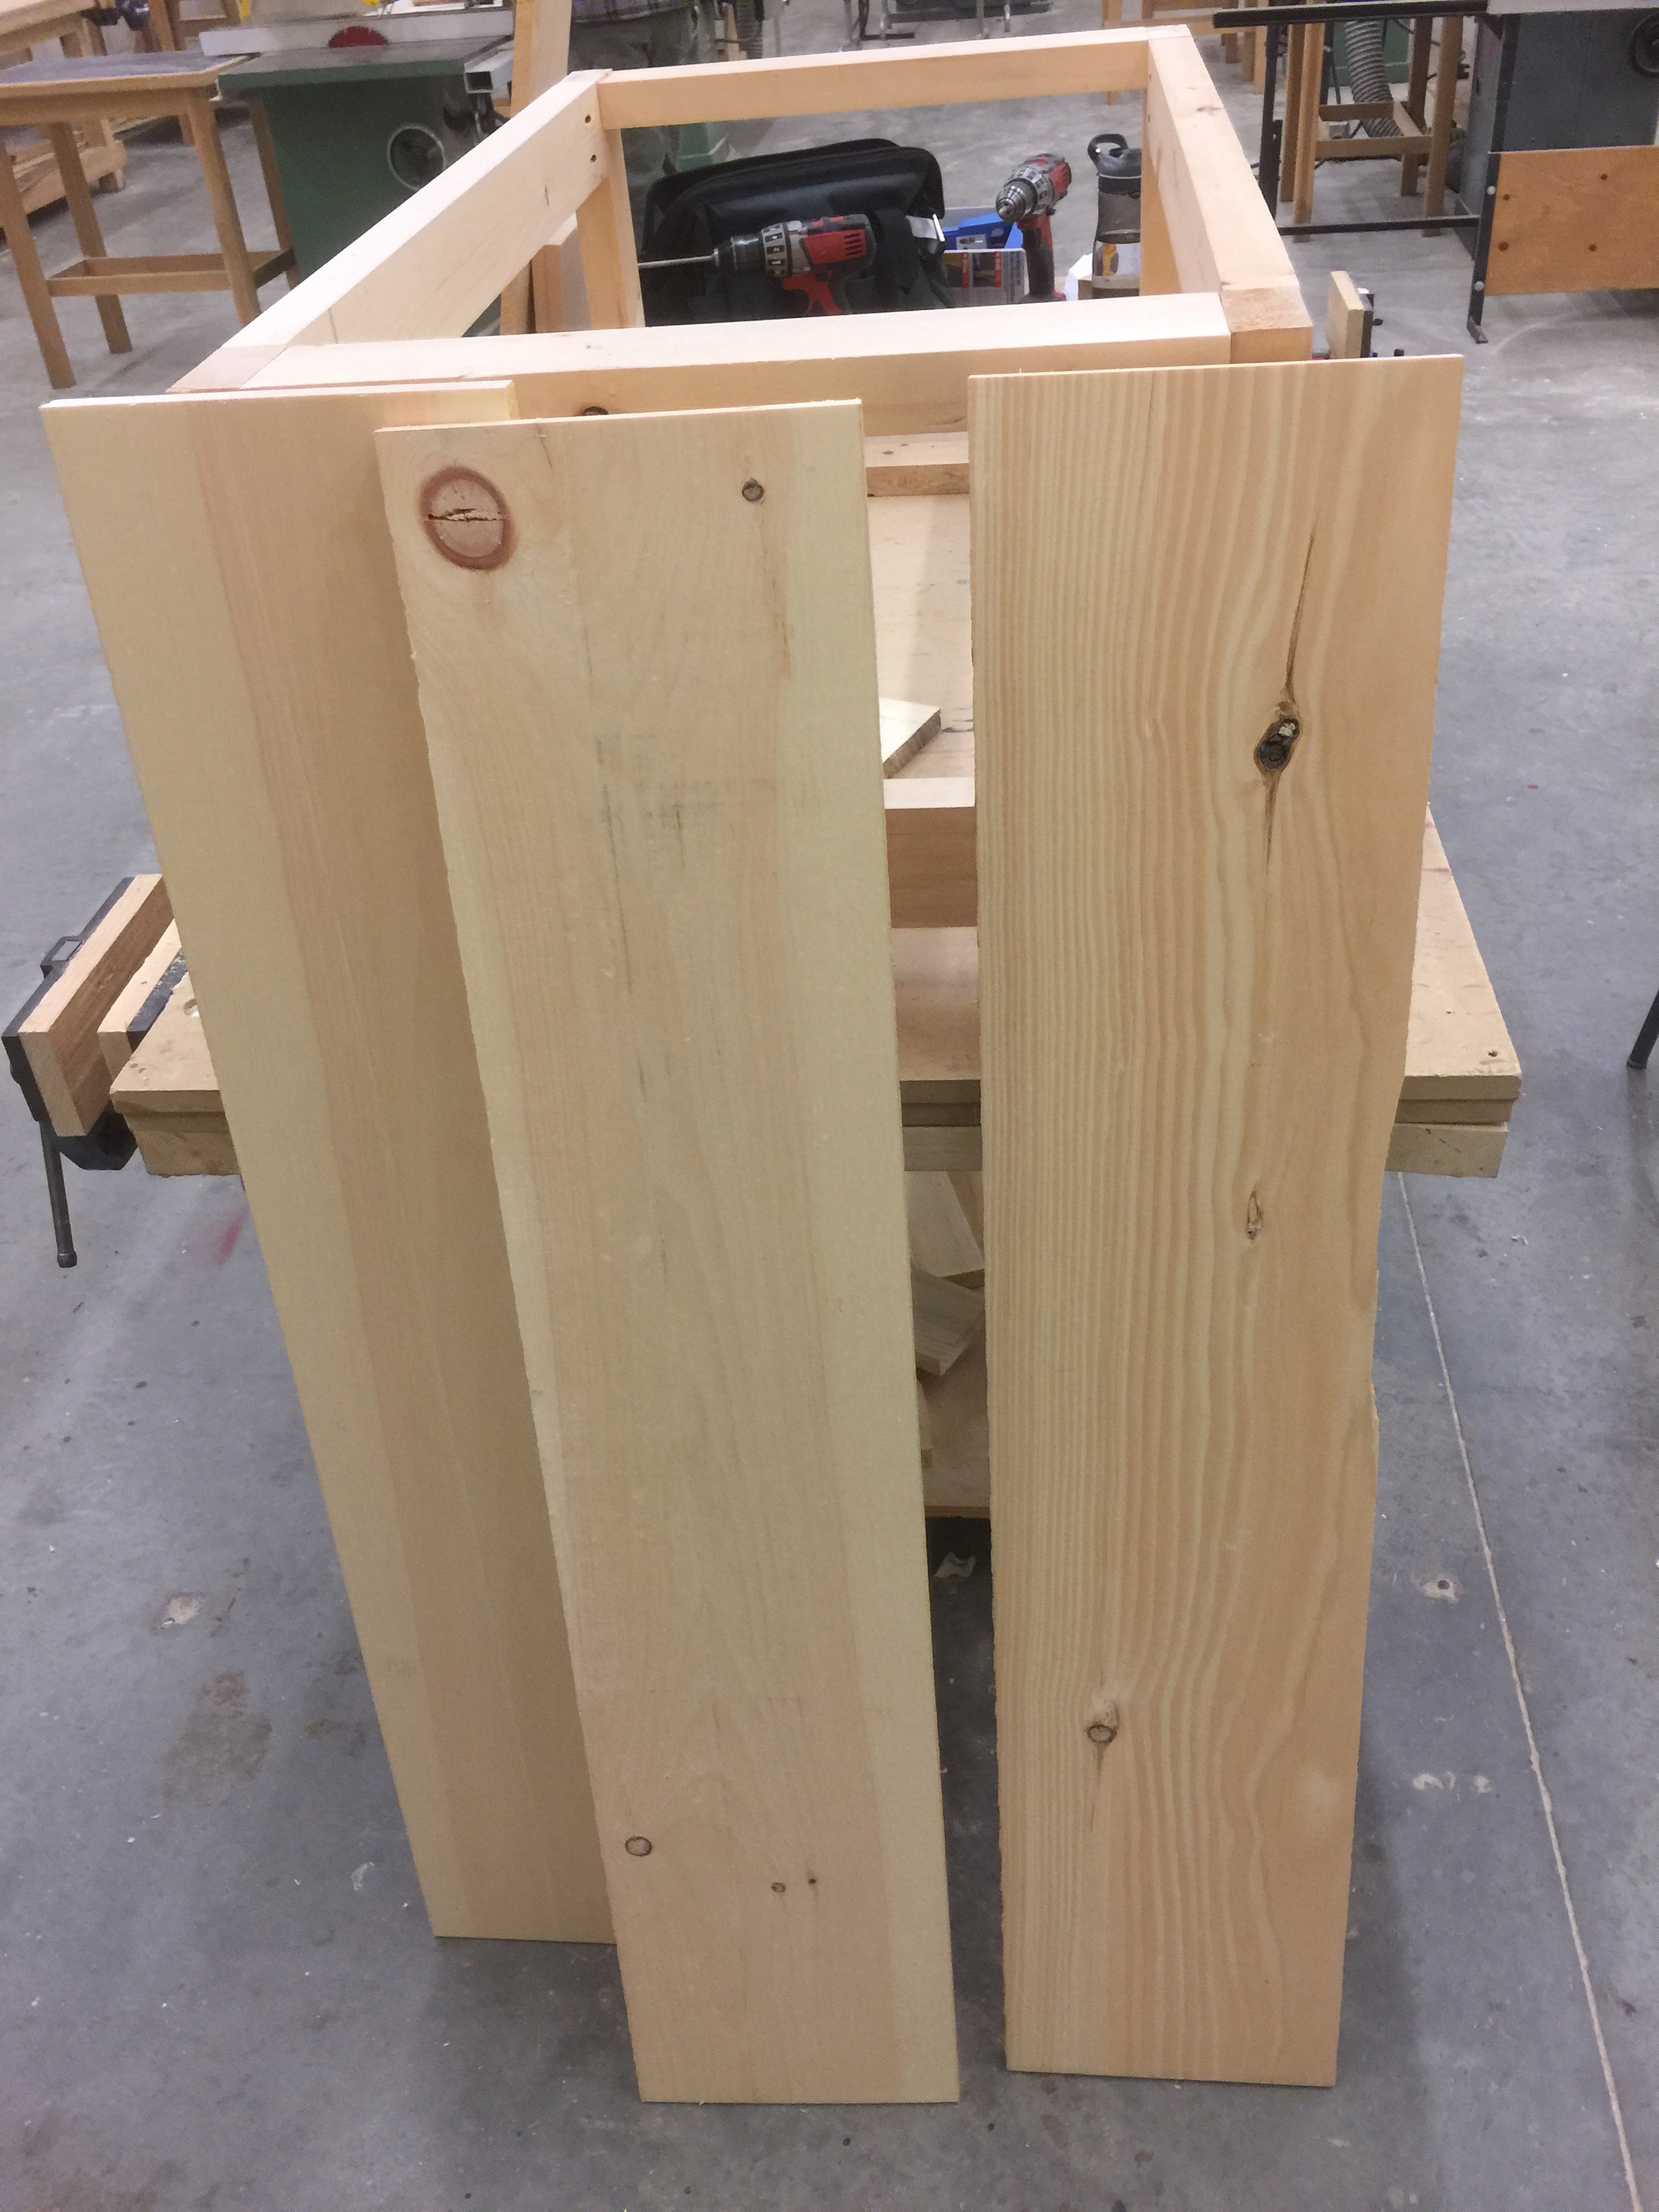
I was going a bit ‘rogue’ from my plans, so Adam helped me with this next bit.
I wanted my bottom shelf to sit on top of the rails, not flush with them. To do so, I needed to set the boards in place on top of the shelf, and mark where I’d need to cut out the side rails. First, I measured the size of the vertical rail and marked it out against the bottom shelf.
I don’t know how I managed to mess it up, but after three tries, I still hadn’t gotten the measurements correct.
For my fourth try, I used a combination square to measure the rails, and translated that measurement onto the bottom shelf.
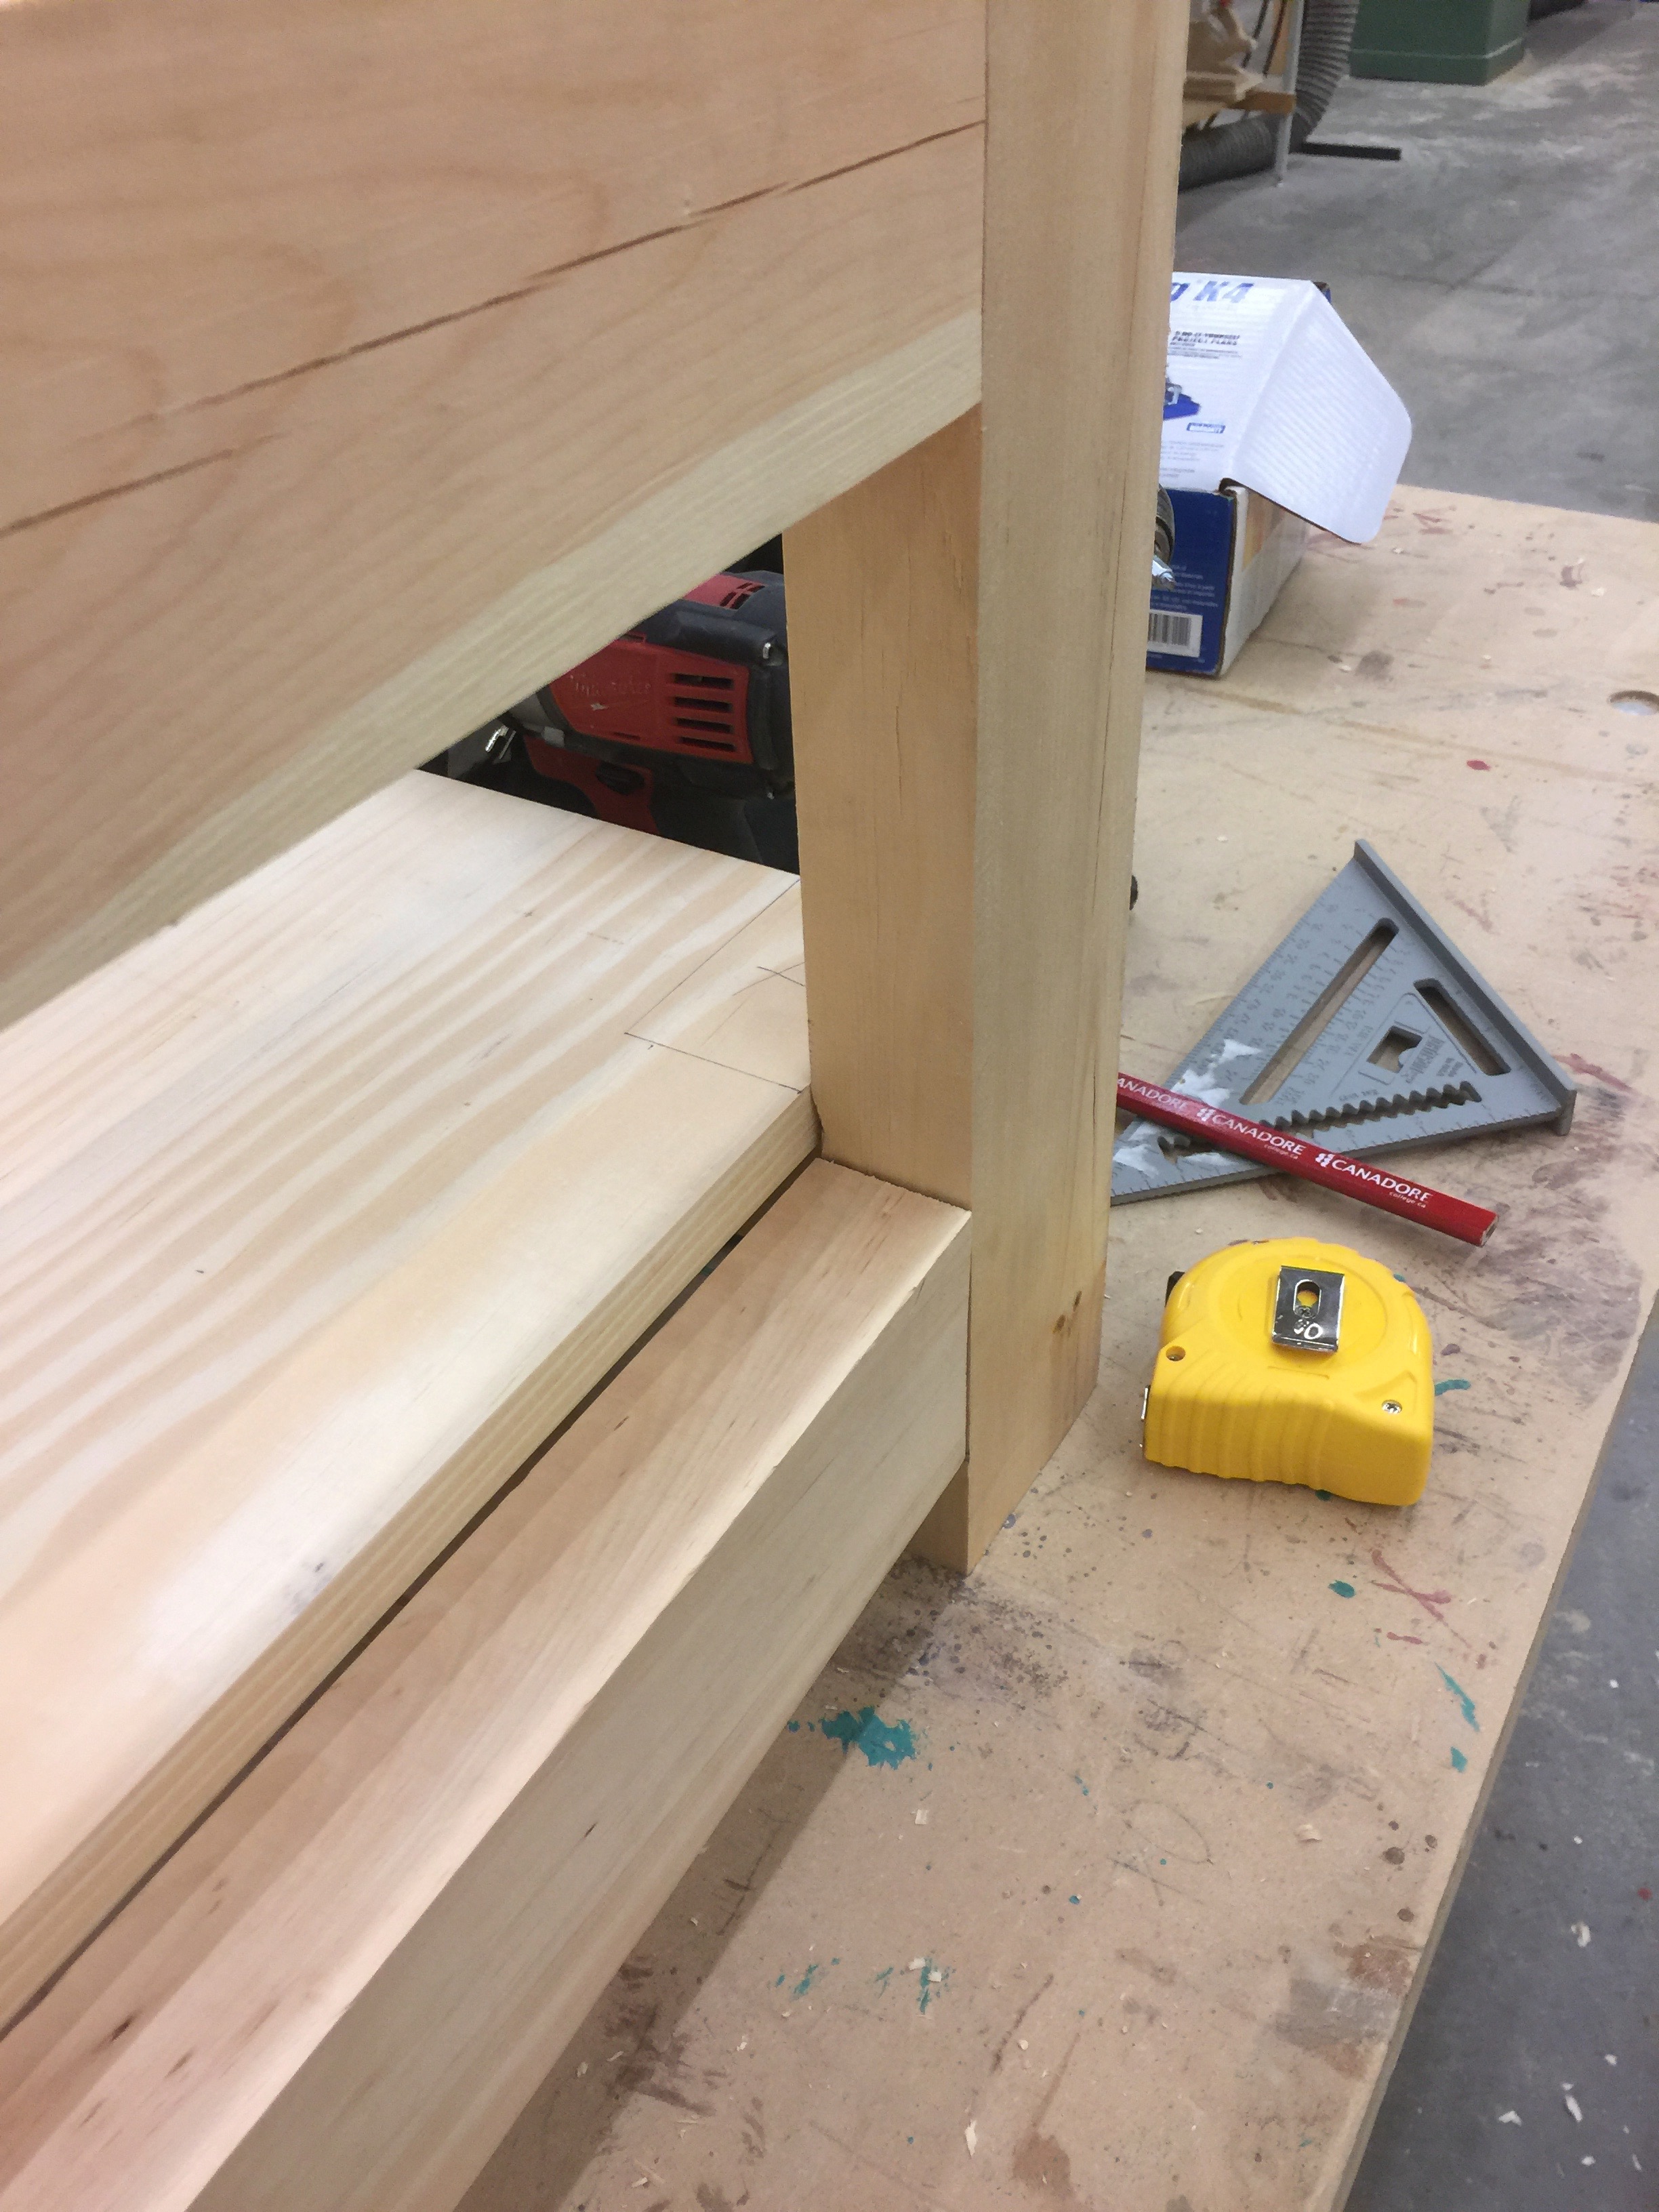
Success!
Since I spent so much time trying to figure out the proper measurements for my shelf cut-outs, I’d run out of class time by this point.
Next Week & More
Hoping next week, I’ll be able to fly through these steps:
- Use a jig saw to cut out the pieces in four corners of my bottom shelf (so they can sit on top of the bottom rails)
- Attach the bottom shelf
- Attach top shelf
I guess, I’ll need to start thinking about my next project. Since we only have ~3 classes left, it’ll need to be something that I can whip up in less time than that. Any ideas?
ARTICLE BY: SAMANTHA DYCK
Since graduating from Lakehead University in 2011, Samantha gravitated towards the construction industry. With a quick wit and a knack for terrible jokes, her time management skills enable her to find the time to contribute to Hard Hat Hunter’s growing community.